


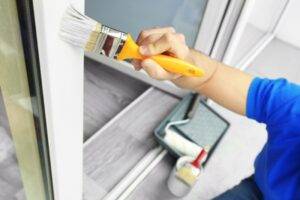
 Follow these tips for how to quickly and easily finish your interior wall painting projects.
If you have any questions or need help, please Call (540)-270-5564

🔎To Avoid Lap Marks, Roll the Full Height of the Wall and Keep a Wet Edge
When rolling over painted surfaces, lap marks are those ugly stripes left behind. They occur when you’re rolling over an already partially dried layer of latex paints. These are some ways to prevent them from happening.
To avoid lap marks when learning how paints work, keep a wet edge by overlapping strokes of your brush before the first layer dries. These are some basic painting techniques for beginners:
To keep an even coat of paint, roll from one end of the wall to the other using a wide (1/2 inch) brush. Move the brush back and forth across the wall until the entire surface has been covered.
- If there are thickened spots or runs, move back until they’re evened out.
- Don’t allow the roller to get too dry; reload it frequently so that it’s always kept at least half full.
- Make sure the open side of the rollers face the area that has been painted before. Doing so reduces the likelihood of leaving paint marks on your wall.
⚡If you mix several cans of paint into a large bucket for consistency throughout the room, you're going to get a consistent color.
When painting a room, you should start by measuring the walls before selecting your colors. You’re likely to find that two cans of the same color won’t cover an entire wall. To avoid mixing too much, measure out just enough to cover the area where you plan to apply the first coat. Once you’ve mixed the right quantity, add another coat.
Here are some good painting tips:
If you’re not sure whether you need more or less paint, go for more. It’s easy to pour any extra paint down the drain if you don’t use it right away.
- When loading your rollers for large jobs, use buckets instead of trays. They’re much faster to fill with screens than they are to fill with pans.
- Just dip the roller into the paint, then roll it along the surface until it dries.
🔋☀️Let the paint dry before cutting off the tape.
When the paint has completely cured, you can’t simply remove the masking paper by peeling it away from the wall. The paint creates a thin layer of hardened paint between the wall and the masking paper. If you peel the masking paper away from the wall, you tear pieces of hardened paint off the wall. To avoid tearing up the wall, wait until the paint has fully cured.
After waiting at least 24 hours, cut away the old tape using a utility knife or box cutter. Start in an inconspicuous area so that you don’t accidentally damage any important parts of the car.
When cutting the paint, if you pull the tape straight down, you’ll end up making a big mess. Instead, pull the tape up at 45-degrees.
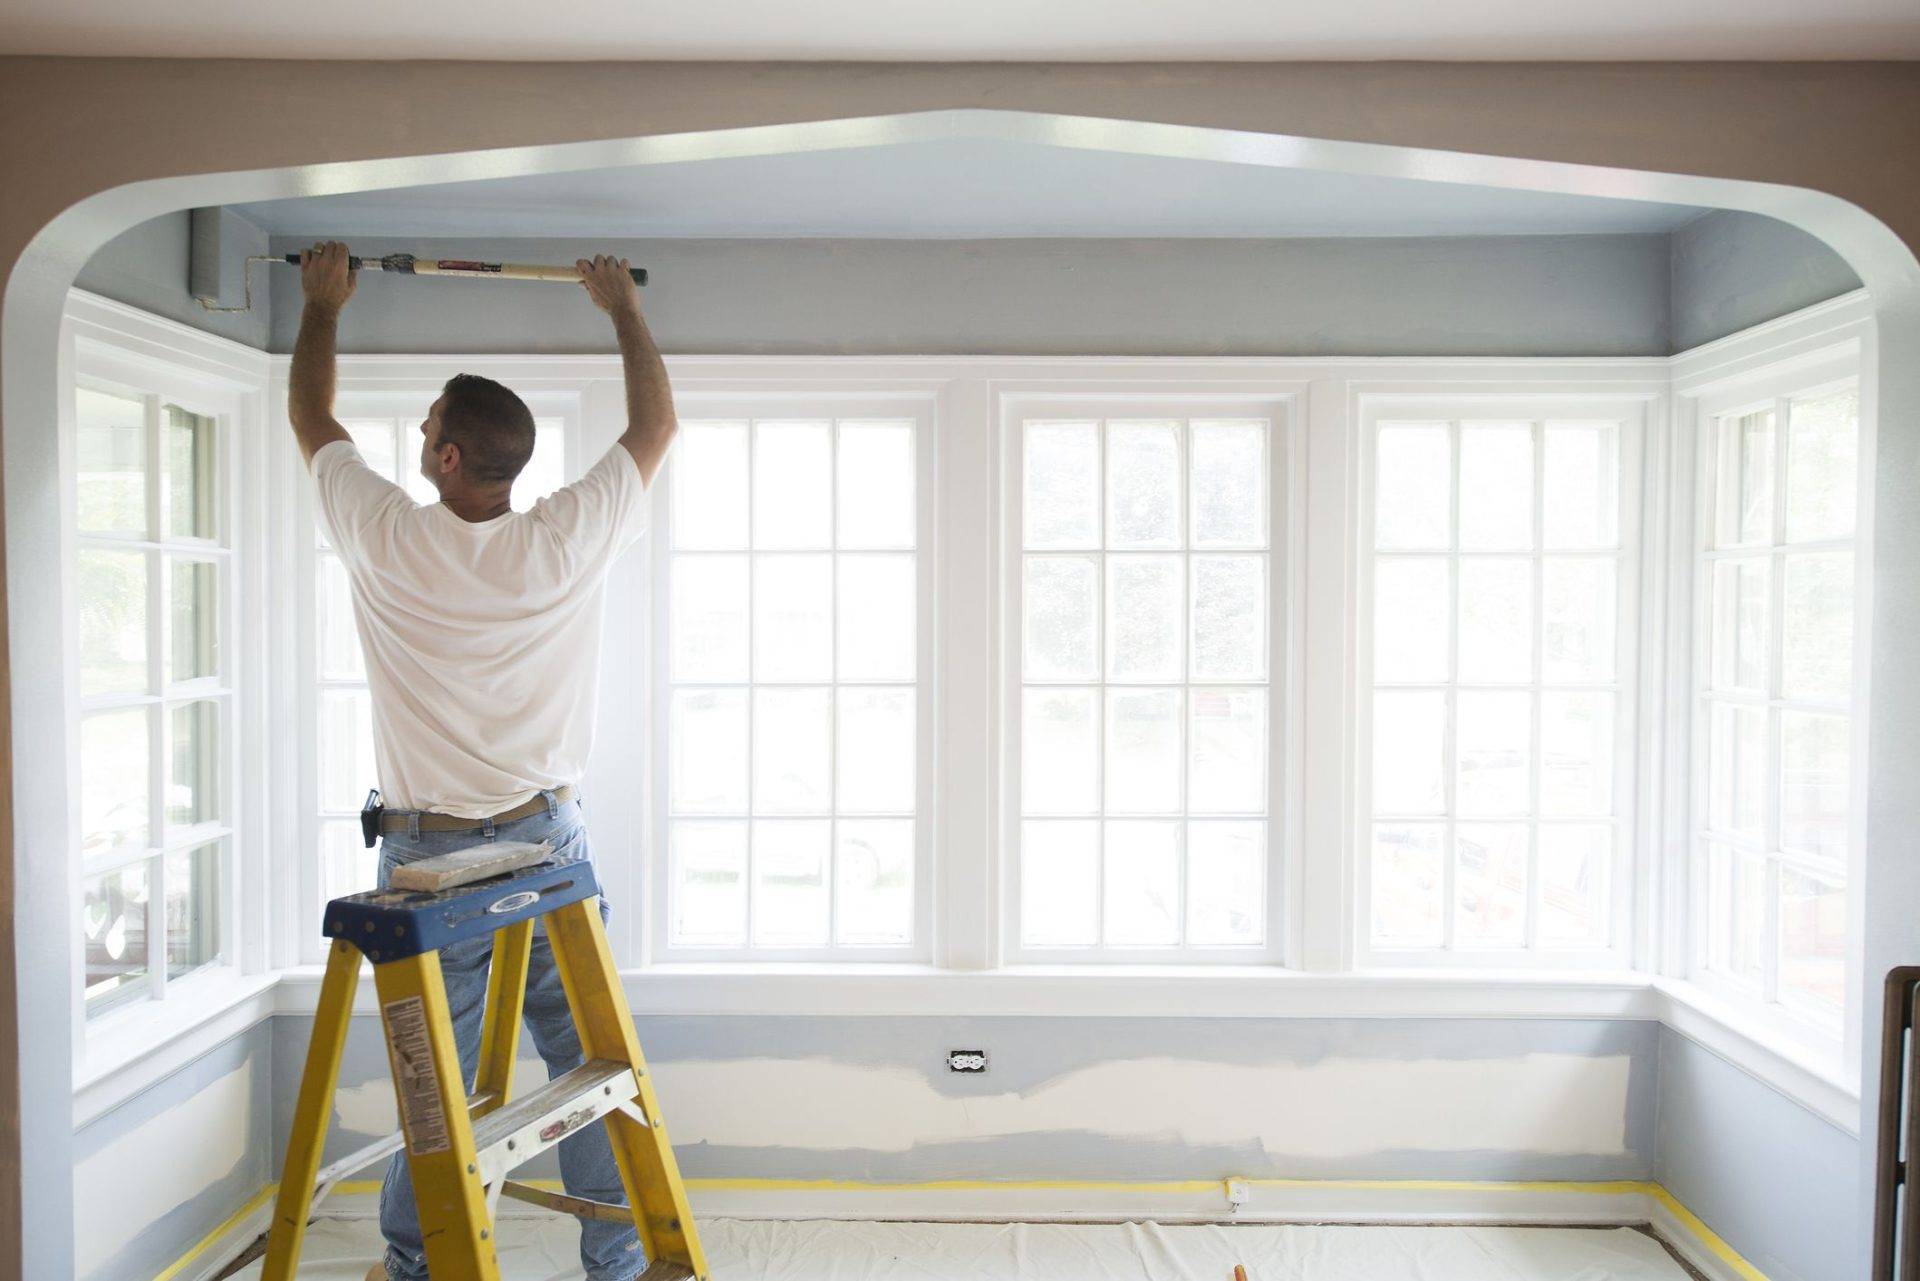
🔋☀️Painting Techniques: Paint the Trim First, Then the Ceiling and Walls
Pros typically start painting ceilings before they begin taping off the wall surfaces. This allows them to work quickly and efficiently without having to waste time taping off areas that won’t be painted. Once the ceilings are finished, pros can move onto working on the wall surfaces.
When applying the trim paint, you don’t have to be neat. Just focus on covering the entire surface evenly. Don’t fret about whether the trim paint gets onto your wall. You can easily remove it later when repainting the wall.
After the trim has been fully painted and dried for at least 24 hours, tape it off (with easy-to-remove painter’s tape). Then paint the ceiling, then paint the walls.
🔋☀️You don't want to use wall patches because they cause blotchiness.
Freshly repainted surfaces can look uneven due to the presence of air bubbles trapped between the old and new layers of paint. These tiny pockets of air cause light spots to show through the fresh coat. To prevent this, apply two coats of primer before applying your final coat of paint.
If you paint over them, they stand out like a sore thumb against the smoother surface of the wall. A few coats of primer will remove any flashes and give you a smooth surface.
Primer seals the surface so paint doesn’t stick and look dull. To create a uniform finish, apply primer with a roller, starting at the top and working your way down. Use a 3/4-in. roller for smooth surfaces or a 1/2-in roller for textured walls. Apply two light coats of primer, allowing each coat to dry before applying the next. Let the primer cure completely before painting.
🔋☀️Clean Dirty Surfaces So the Paint Can Form a Strong Bond
To prevent chipping or peeling when painting, use a de-glossing product designed for prepping painted surfaces.
They work well to remove fingerprints from painted, varnished, or enameled woodwork. They are especially useful for removing grease and oil stains from kitchens and bathrooms.
Wipe on the lather in a circular motion, starting at the bottom and working your way up. Use a lather made specifically for cleaning furniture. Fill in any nicks and scratches, and make sure to get into corners. Then, after the piece is dry, apply a couple coats of paint. Wear rubber/latex gloves and safety glasses.
🔋☀️To roll paint along the edges of your canvas for consistent texture, use a brush with bristles
When painting corners and edges next to the trim where you’re using a roller, use a small dab of water first so the roller doesn’t pick up too much dust. Then, after applying the first coat, immediately roll the roller out.
Use a 2½-in. brush with a wide, flat tip. Start applying paint to the walls about 4 in. above the floor and work your way up. Work quickly; if dry brushes crack, just dip them back into the can until they’re smooth again. For best results, apply two coats of paint. Let each coat dry completely (about 6 hours) between applications, then sand lightly with 120-grit wet/dry paper. Finally, wipe off any excess dust with a tack cloth.
🔋☀️Instead of using plastic drop cloths, use cotton ones.
Spills and spatter happens, no matter how careful you are. You’re better prepared to handle spills and splatters if you’ve got canvas drop clothings in your work space.
The thick canvases remain in place, so you are not required to adhere them, and also you could utilize it to wrap up any surface. Plastics slip proof covers are slippery to stroll upon or put down a ladder on and don’t hold up in place. Even worse, painting splatters on plastics stick around, and they can wind up on your footwear and get tracked throughout the home. Canvass is slippery on difficult floors, so rosin papers are better over vinyl, tile, and hardwood. Join the sheets together and to your floor to give a non-slip area.
Even with canvas or rosin paper drop cloths, large spills still need cleaning up right away or they’ll soak through. Wipe them down using paper towels or rag rugs. Likewise, if you splash paint on any other surface—even just a table top—wipe it up immediately.
🔋☀️Feather Out Paint Where You Can't Keep a Wet Edge
You can’t cover large areas like ceilings, extra-tall walls or stairwells in single, continuous strokes, so the best way to minimize lap marks on these areas is to feather out the paint along the edges that you can’t keep wet. The thinner, feathered coat of paint will avoid the buildup that causes the lap mark.
To paint a large section without leaving lap marks, roll the nearly dry roller in different directions along the dry edge, feathering out the paint as you go. After completing the entire length of the wall or ceiling, move to the next section and paint over the feathered edges.
For the second coat, apply the paint in the opposite direction. This crisscrossing paint application sharply reduces (if not eliminates) lap marks.
🔋☀️Sand Trim Between Coats for an Ultra-Smooth Finish
One coat of paint usually won’t hide the underlying color and sheen on trim. And if you don’t sand the surface smooth between coats, the finish may have a grainy texture. For a smooth finish, sand the trim before applying each coat of paint.
Sand the trim with a fine-grit sanding sponge. Sponges get into crevices where sandpaper can’t go and let you apply even pressure.
Then apply the first coat of paint, let it dry at least 24 hours, lightly sand it again for a completely smooth surface, and apply the second coat. After each sanding, vacuum the trim, then wipe it down with a tack cloth to remove the dust.
🔋☀️Make sure they have insurance
No matter the job, it’s important that you make sure a handyman has general liability insurance before you ever let them start work on your home.
Even if they are the epitome of professional, a handyman in your home represents a potential risk to you and your property. Should they accidentally damage your property or injure you, their policy will help cover third-party claims of:
Property damage
- Personal injury
- Advertising injury
This means that if an accident did occur, the service professionals would be able to cover the costs.
This is why many handymen choose to get insured via Thimble. We offer on-demand insurance with flexible policies that go by the hour, day, or month.
The moment a policy is purchased, a Certificate of Insurance (COI) is sent to their email inbox. This acts as proof that they (and you) are protected from potential job site accidents.
When getting insured is as simple as this, you have no reason to let a handyman into your home without seeing their COI!
🔋☀️Conclusion: Handyman services
At the end of the day, a good handyman is someone smart to have on speed dial. They are capable of tackling a variety of tasks, including but not limited to:
- Drywall
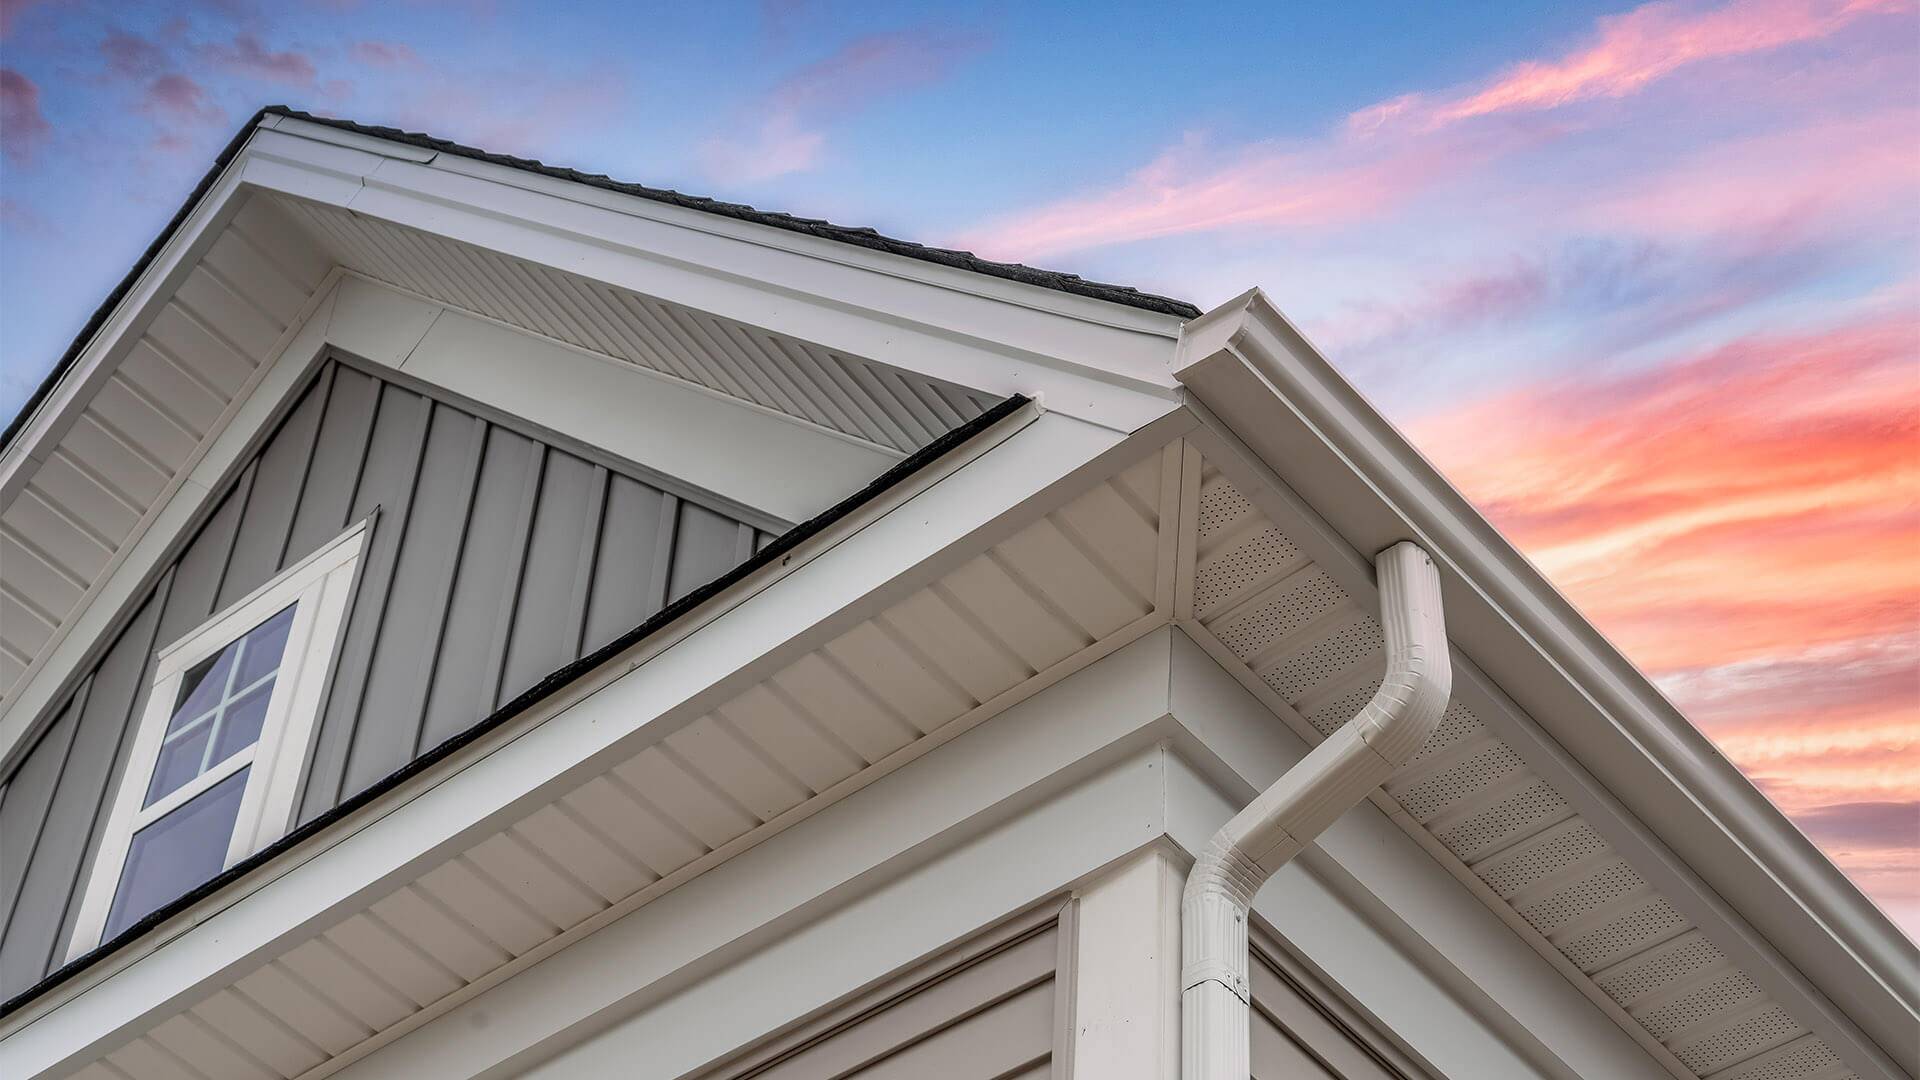
- Gutter repair
- Fixture repair and replacement
- Tiling
- Deck work
When they arrive at your house or business, double check their Certificate of Insurance – then get out of their way so they can get to work!
Learn More From J and D Handyman

Budget Web Solution
Leave a Replay
About J and D Handyman
We Know How It Feels When Stuff Breaks. We Provide Handyman Services In
Warrenton VA. We’ll Get There Quick To Solve Your Issue.
Recent Posts


Gallery
Weekly Tutorial
Sign up for our Newsletter
Stay Informed. Get our newsletter right to your Inbox!